Protect Your Temecula Roof While Going Solar
Going solar should not put your roof at risk. If you live in Temecula, you probably care just as much about keeping your home dry during heavy rains as you do about lowering your electric bill. The way your solar system is mounted, flashed, and sealed has a big impact on how well your roof holds up over time.
Flashing, underlayment, and quality checks during the install all work together. When they are done right, your roof can handle intense sun, surprise summer storms, and everything in between. When they are rushed or ignored, small mistakes can turn into leaks that show up later.
We are a Temecula-based solar and battery storage team, installing systems since 2019 with a fully in-house, licensed, certified, and insured crew. Roof protection has always been a big focus for us. In this article, we will walk through safe mounting methods, what you should expect from top solar installers in Temecula, and a practical checklist you can use before, during, and after your installation.
How Solar Affects Your Roof in Temecula's Climate
Temecula gets long, sunny days, high summer heat, and occasional strong winds. On top of that, we get periods of heavy rain. All of this puts stress on roofs, and on the hardware that holds solar in place. Roof materials expand and contract, and UV rays break down anything that is not made to last on a hot roof.
Different roof types need different mounting methods. A few examples:
- Asphalt shingle roofs need properly flashed mounts that tuck under the shingles and seal the lag bolt holes
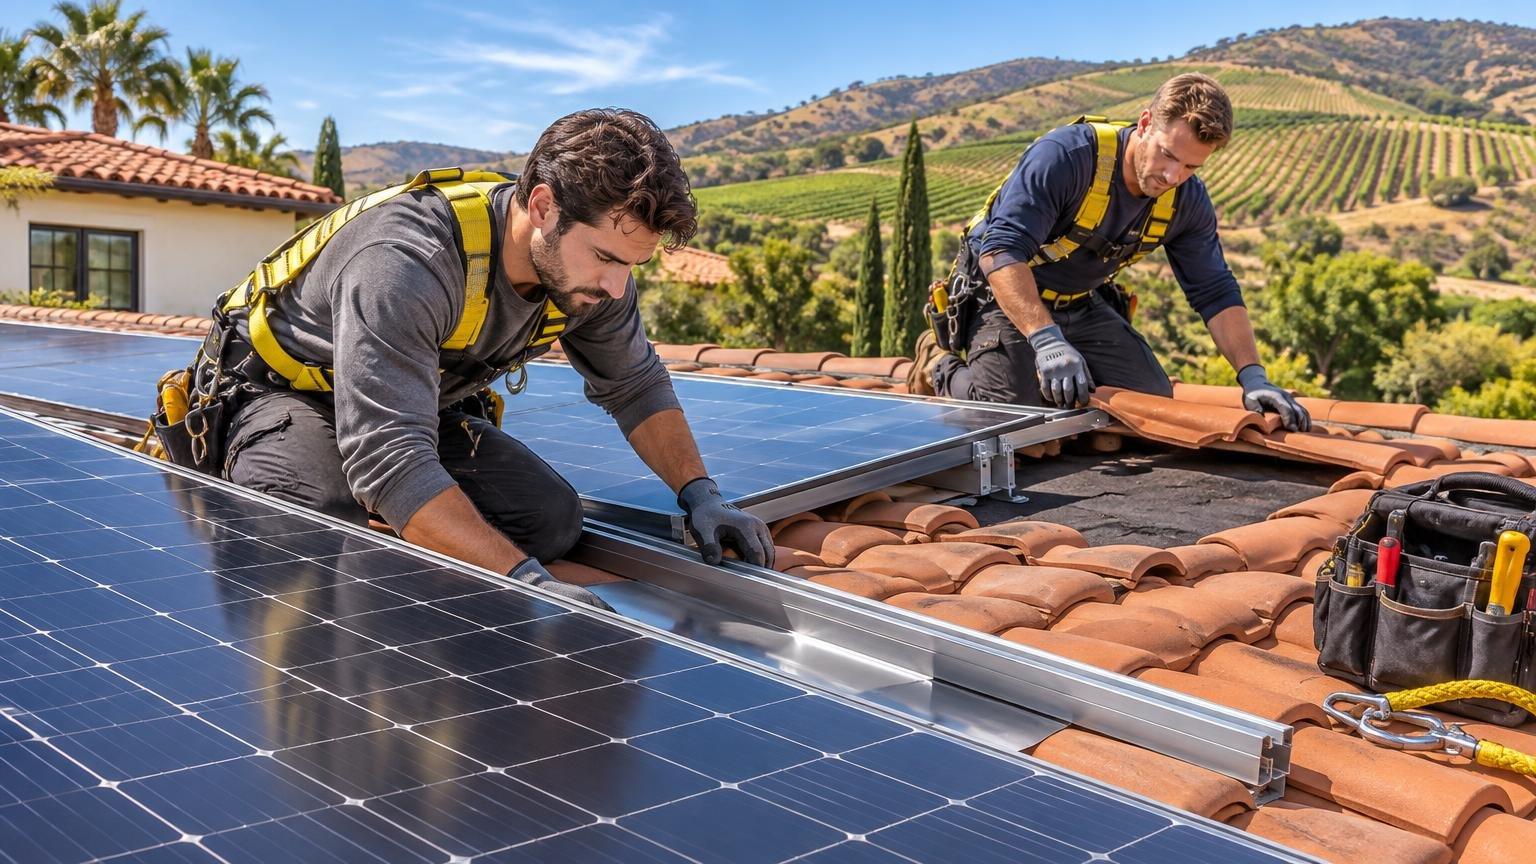
- Tile roofs often need raised standoffs and special bases so tiles do not crack or rock
- Flat roofs need mounts that keep water from ponding around penetrations
- Metal roofs need mounting that works with the seams, not against them
When crews rush or lack experience, problems can show up later. Common risk areas include:
- Misaligned mounts that miss rafters or split wood
- Poorly sealed penetrations that let wind-driven rain sneak in
- Mount spacing that creates odd water flow paths across the roof
- Cracked or loosely reset tiles that hide leak points under the array
Because we have been working in Temecula for a long time, we are familiar with local roof styles and how many builders here put roofs together. We see repeated patterns in certain neighborhoods, and we plan our layouts to avoid the weak spots and protect the areas that tend to fail first.
Flashing Types That Keep Roofs Dry Under Solar Arrays
Flashing is the shaped metal or molded piece that surrounds a roof penetration and sends water away from it. Think of it as a small roof around each mount. Good flashing is your first shield against leaks around lag bolts and mounting feet.
On shingle roofs, you will see a few common flashing styles:
- Standard metal flashings with an L-foot attached above them
- Integrated flashing-and-foot systems that combine the base and seal into one unit
- Higher-profile mounts for areas where water tends to travel faster or pool
Each style handles water a bit differently. Integrated systems are designed so water naturally runs over and off the flashing instead of catching around the mount. This helps in strong rain or when wind pushes water sideways.
Tile roofs are very common in Temecula, and they need special care. Best practices include:
- Removing individual tiles and installing a solid flashing base that ties into the underlayment
- Avoiding the "grind a notch and go" approach that can crack tiles and leave odd gaps
- Making sure replaced tiles sit flat and lock back into the pattern
When tile is just cut and set back around a mount, tiny gaps can stay hidden under the array. Over time, with rain and heat cycles, those gaps can open and let water reach the underlayment and wood.
Not every solar crew takes the time to match flashing to the roof type or follow manufacturer guidelines. Our in-house team is trained on product instructions and local roofing codes, so the flashing protects both your roof surface and the warranties that come with the equipment.
Underlayment, Sealants, and Hardware That Last
Underlayment is the layer under shingles or tile that acts as a backup waterproof sheet. Its condition matters a lot when you install solar, especially on roofs that are ten years old or more and getting closer to replacement age.
Careful installers will:
- Inspect exposed underlayment when tiles or shingles are lifted
- Repair or replace torn or brittle sections around new penetrations
- Avoid overdriving lag bolts so washers do not crush or tear the membrane
Hardware and sealants matter too. On a hot Temecula roof, materials need to handle UV and temperature swings. Quality choices include:
- UV-stable, roofing-grade sealants that stay flexible
- Stainless steel or hot-dipped galvanized lag bolts that resist rust
- Properly sized washers and gaskets that hold a steady seal under compression
When crews chase the lowest cost, they may bring generic sealants and mixed hardware, and your roof pays the price years later. Our fully in-house team follows internal standards for what we allow on a roof, so the parts holding your system in place are meant for long-term rooftop use, not just short-term savings.
Leak Prevention QA Checklist for Solar Installations
A simple checklist can help you ask the right questions and feel more confident before panels touch your roof. Here are smart steps for each stage.
Before installation, you can:
- Confirm your roof age and recent repair history
- Ask if a roof inspection is recommended before planning the array
- Request the brand names and types of flashing and mounts that will be used
- Verify that the company is licensed and insured and has experience with your roof type
During installation, it helps to:
- Confirm that mount locations are tied into rafters, not just sheathing
- Check that each penetration has flashing properly integrated with the roofing material
- On tile roofs, see that cut tiles are replaced with flashing bases, not filled with small patched pieces
- Make sure exposed fasteners on the roof are sealed or capped
After installation, good QA looks like:
- Reviewing photos of all roof penetrations and flashing points, not just panel shots
- Walking inside your home after the first decent rain to look for any new ceiling stains
- Keeping a simple record of who to contact if you see damp spots, sagging areas, or unusual roof noise
You can also use this checklist when you talk with different solar installers in Temecula to compare how they handle roof protection. In our own process, steps like these are built into our internal checks, along with workmanship and roof penetration warranties that match the way we install.
Why an In-House Solar Crew Protects Your Roof Best
There is a big difference between companies that send your project to a subcontractor and those that use their own in-house crews. With a dedicated team, training is consistent, quality control is tighter, and everyone is accountable under one name.
When design, engineering, and installation all work together on the same team, several good things happen:
- The layout can be planned to hit rafters cleanly and reduce unnecessary penetrations
- The array can be shaped to avoid weak roof areas while still performing well
- Any roofing concerns can be raised and solved before install day, not on the fly
Licensing, certifications, and insurance give homeowners an extra layer of protection. Working with a fully licensed, certified, and insured Temecula-based crew helps make sure that roof-related workmanship is covered, not just the solar equipment itself.
Because we have served the Temecula community since 2019, our customers know who will show up to install their system, who will return if service is needed, and who will stand behind the work years later. When your installer treats the roof as a key part of the project, not just a place to set racks and panels, you get both clean energy and a roof that is ready for the next round of summer sun and seasonal rains.
Get Started With Your Project Today
If you are ready to lower your energy bills and gain more control over your power, our team of expert solar installers in Temecula is here to help you plan the right system for your home or business. At Transform Power®, we take the time to understand your goals so your solar installation fits your property and budget. Reach out to us today through our contact page to schedule a consultation and take the next step toward reliable clean energy.